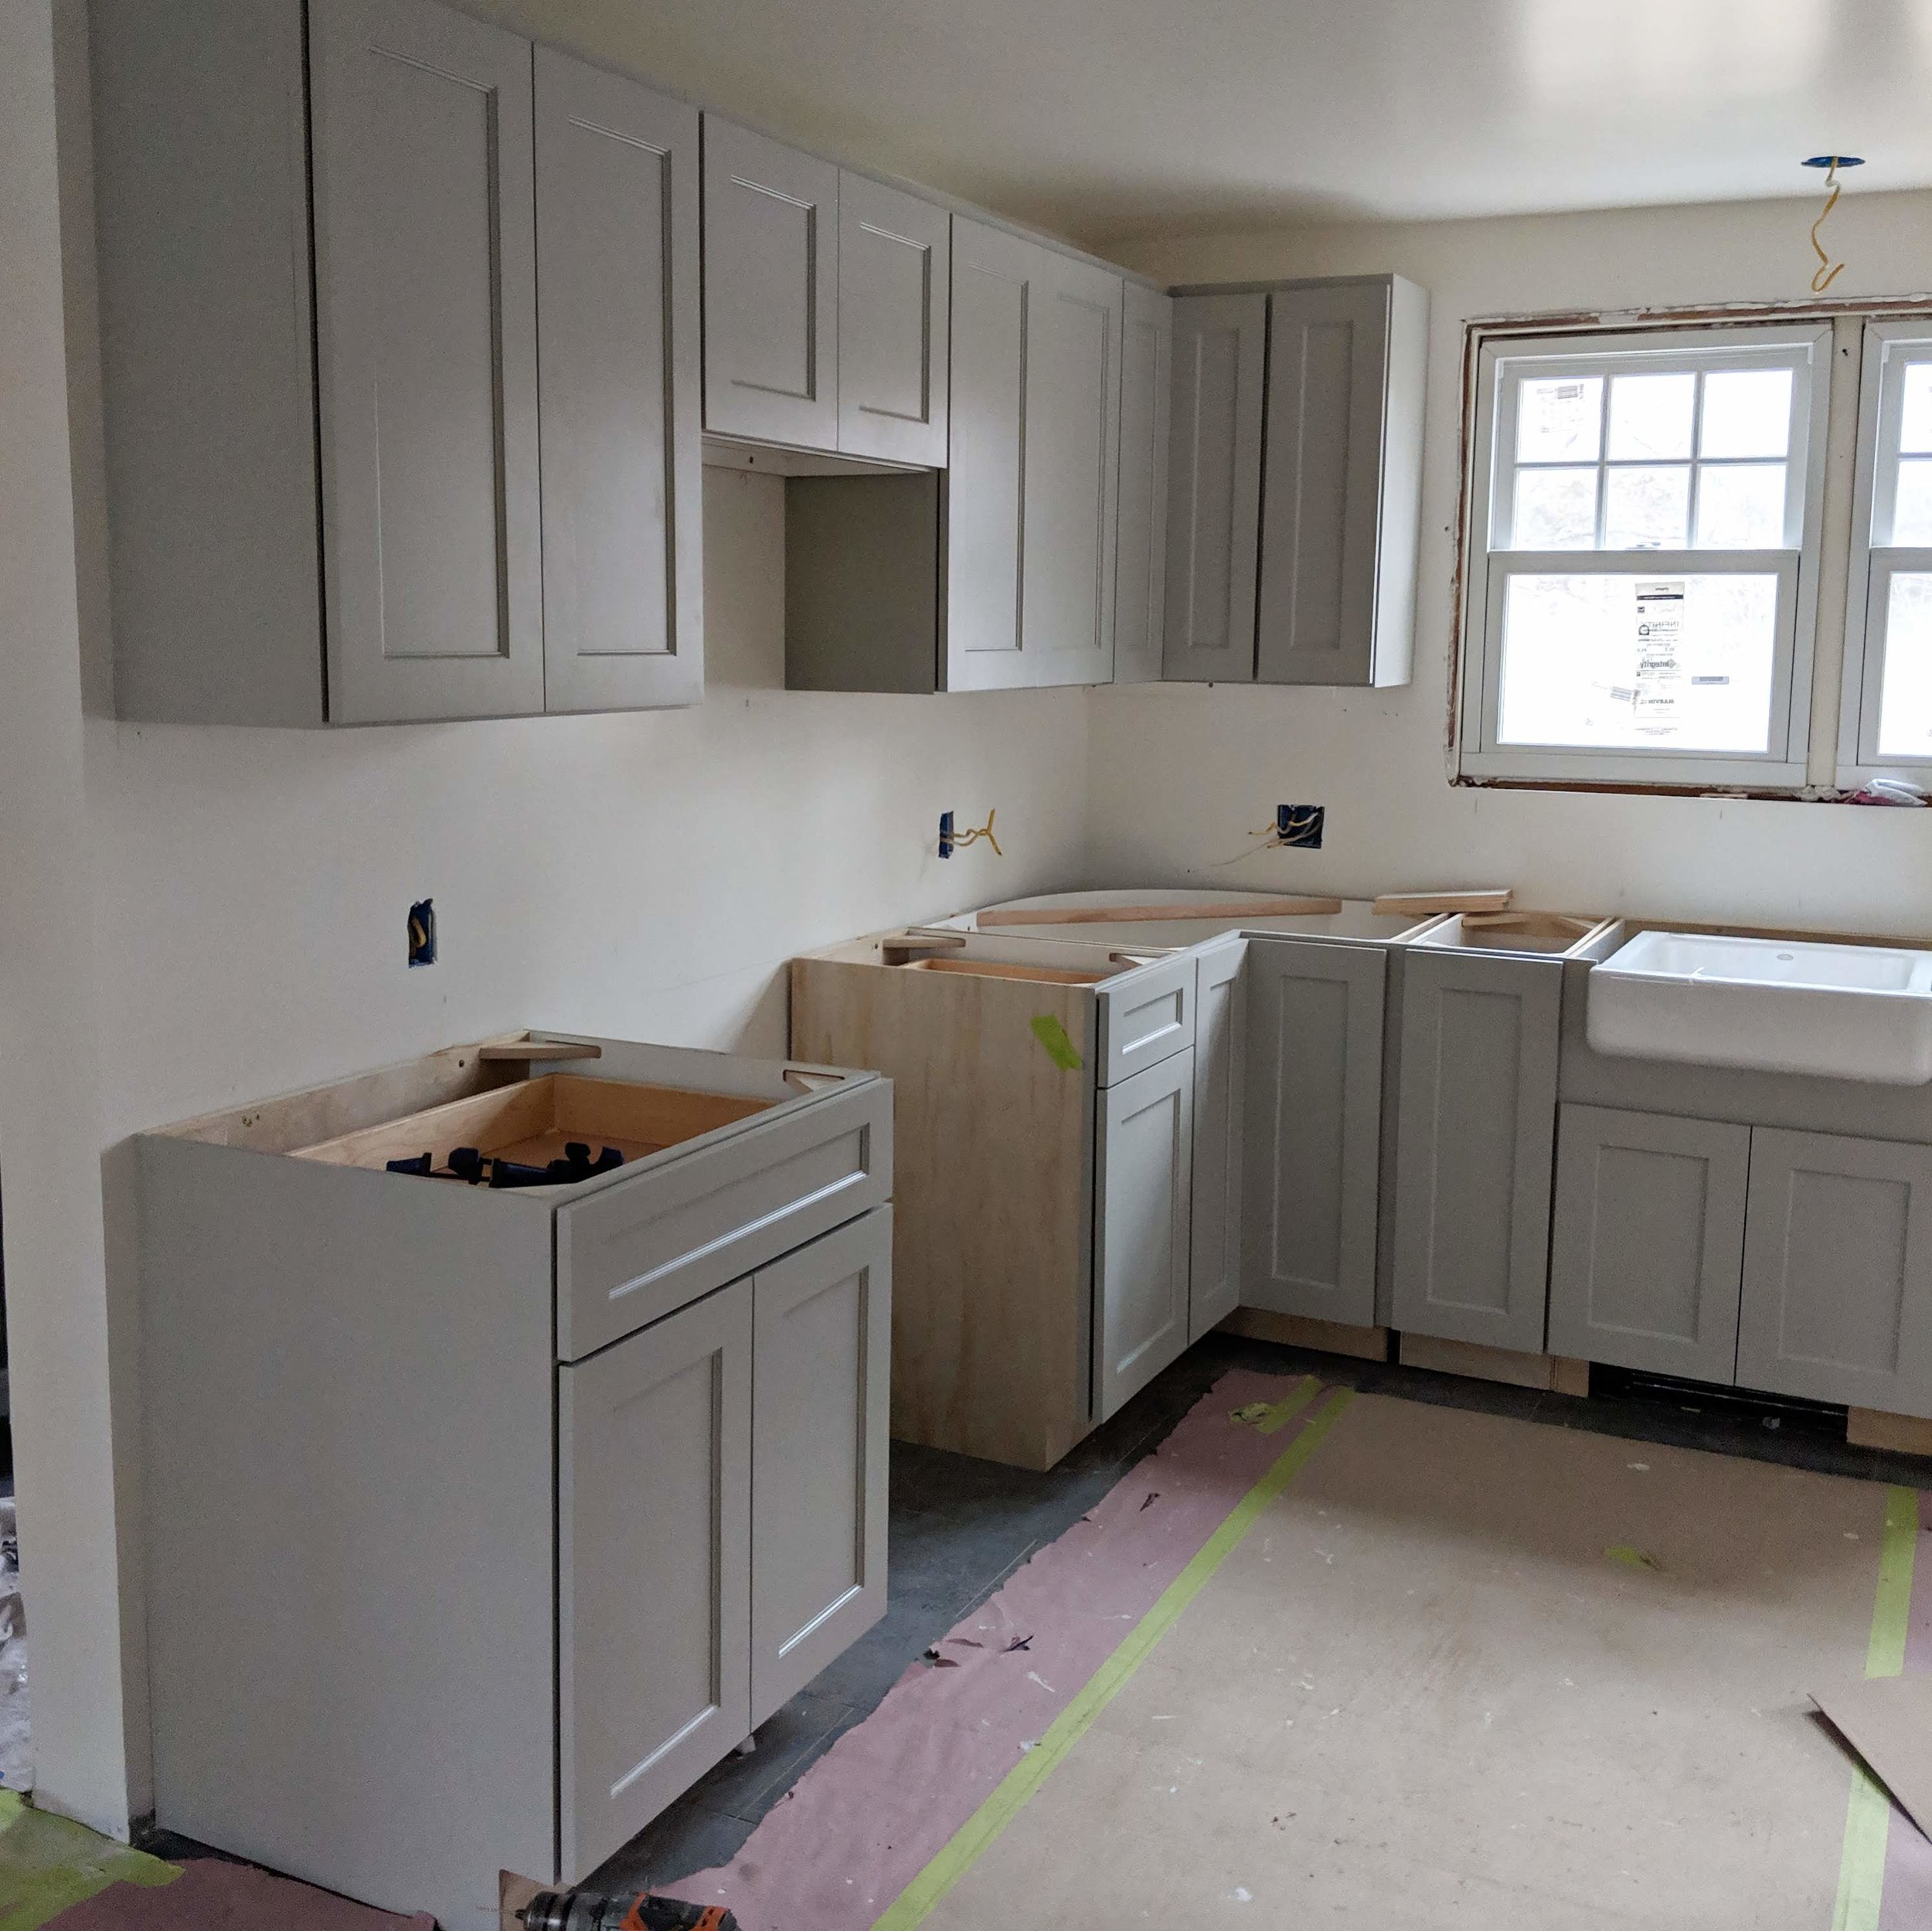
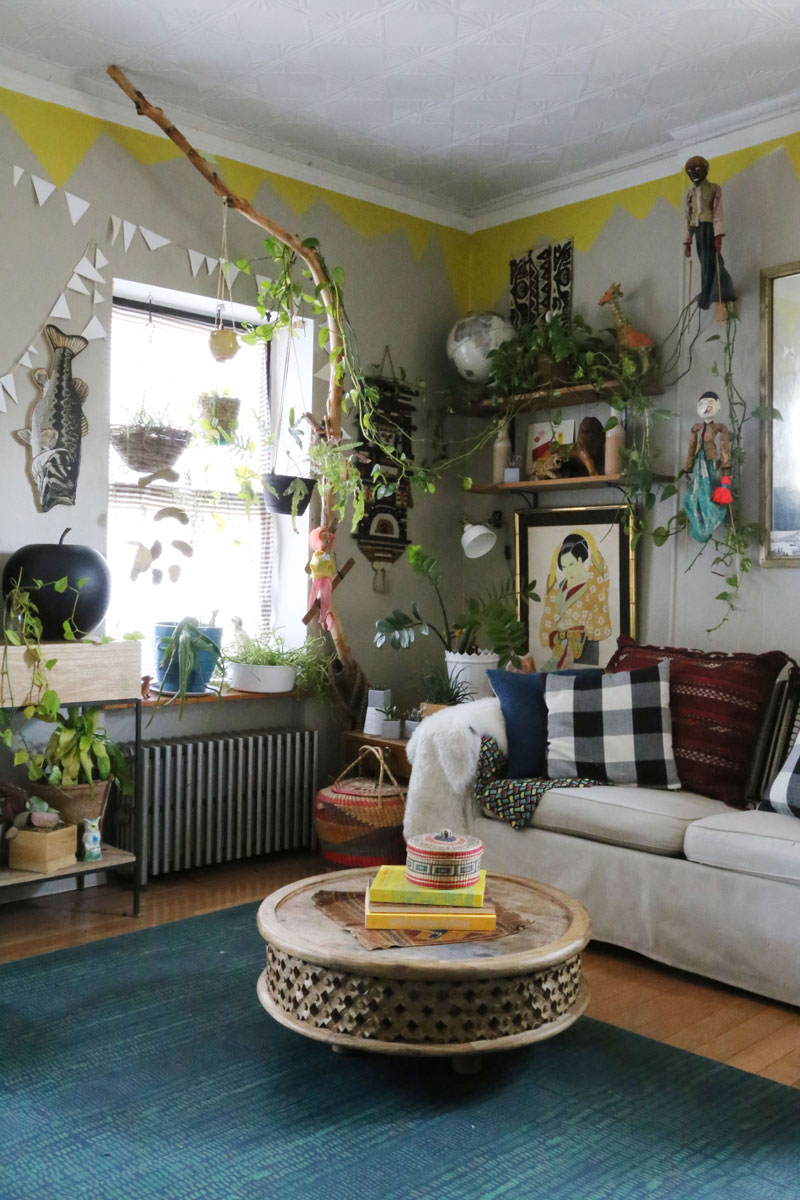
Details are everything. The more my reno project moves towards completion the more obvious this is. Knobs, fixtures, grout color these choices really define the overall feeling you get when you walk into a room whether you realize it or not. I can only compare it to the feeling Goldie Locks had when she sat in Baby Bears bed, when you’ve chosen the right finishes it feels jussssst right. Same goes for spacing on a gallery wall or the amount of antique versus new items you place in a room to get the vibe just right.
So you’d think knowing this, I’d have prepared for every single detail in advance of my renovation. Lol. No.
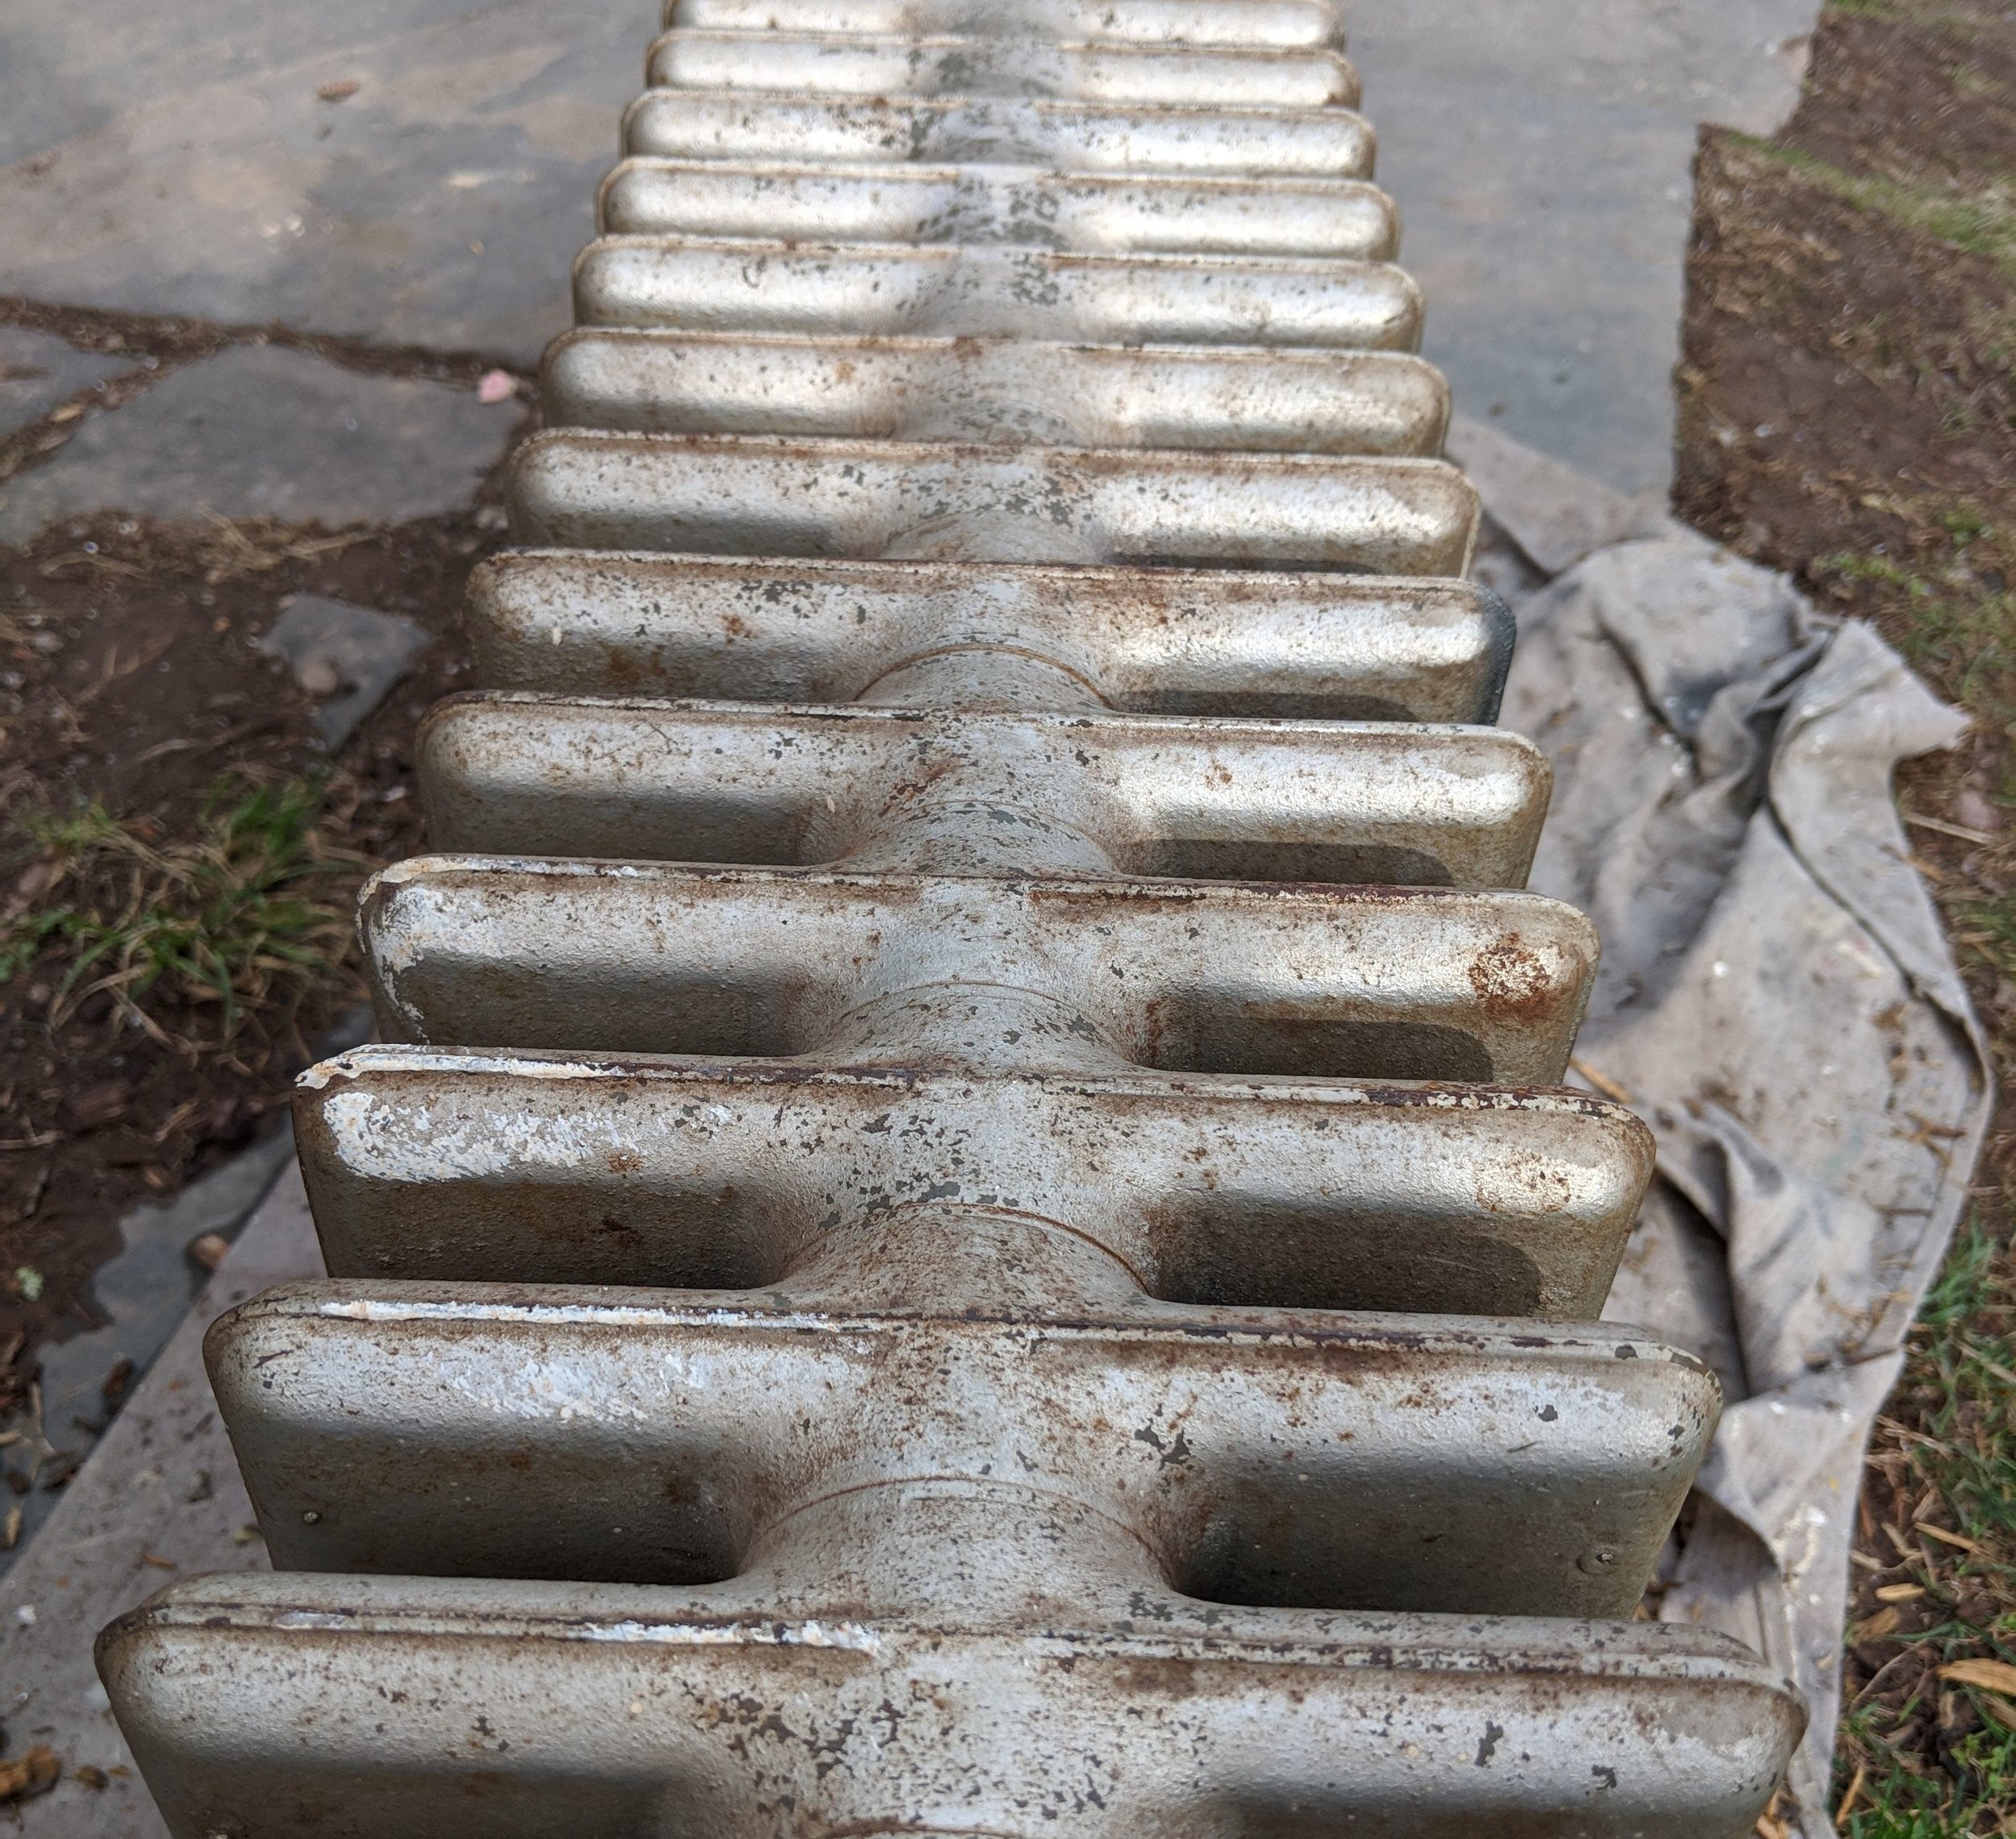
After we ripped everything our of my kitchen, I realized everything was going to be beautiful and fresh when it went back in except my radiator. This thing weighs around 250 lbs and I’ll tell you it had seen better days. Rusty, dirty and dirty. Did I mention dirty?
So what are our options? Well with planning- powder coating would be a great option, though pricey and the logistics of getting the 250lb radiator to the facility adds challenges and further expense. Also did I mention we completely forgot about this detail in the planning phase?
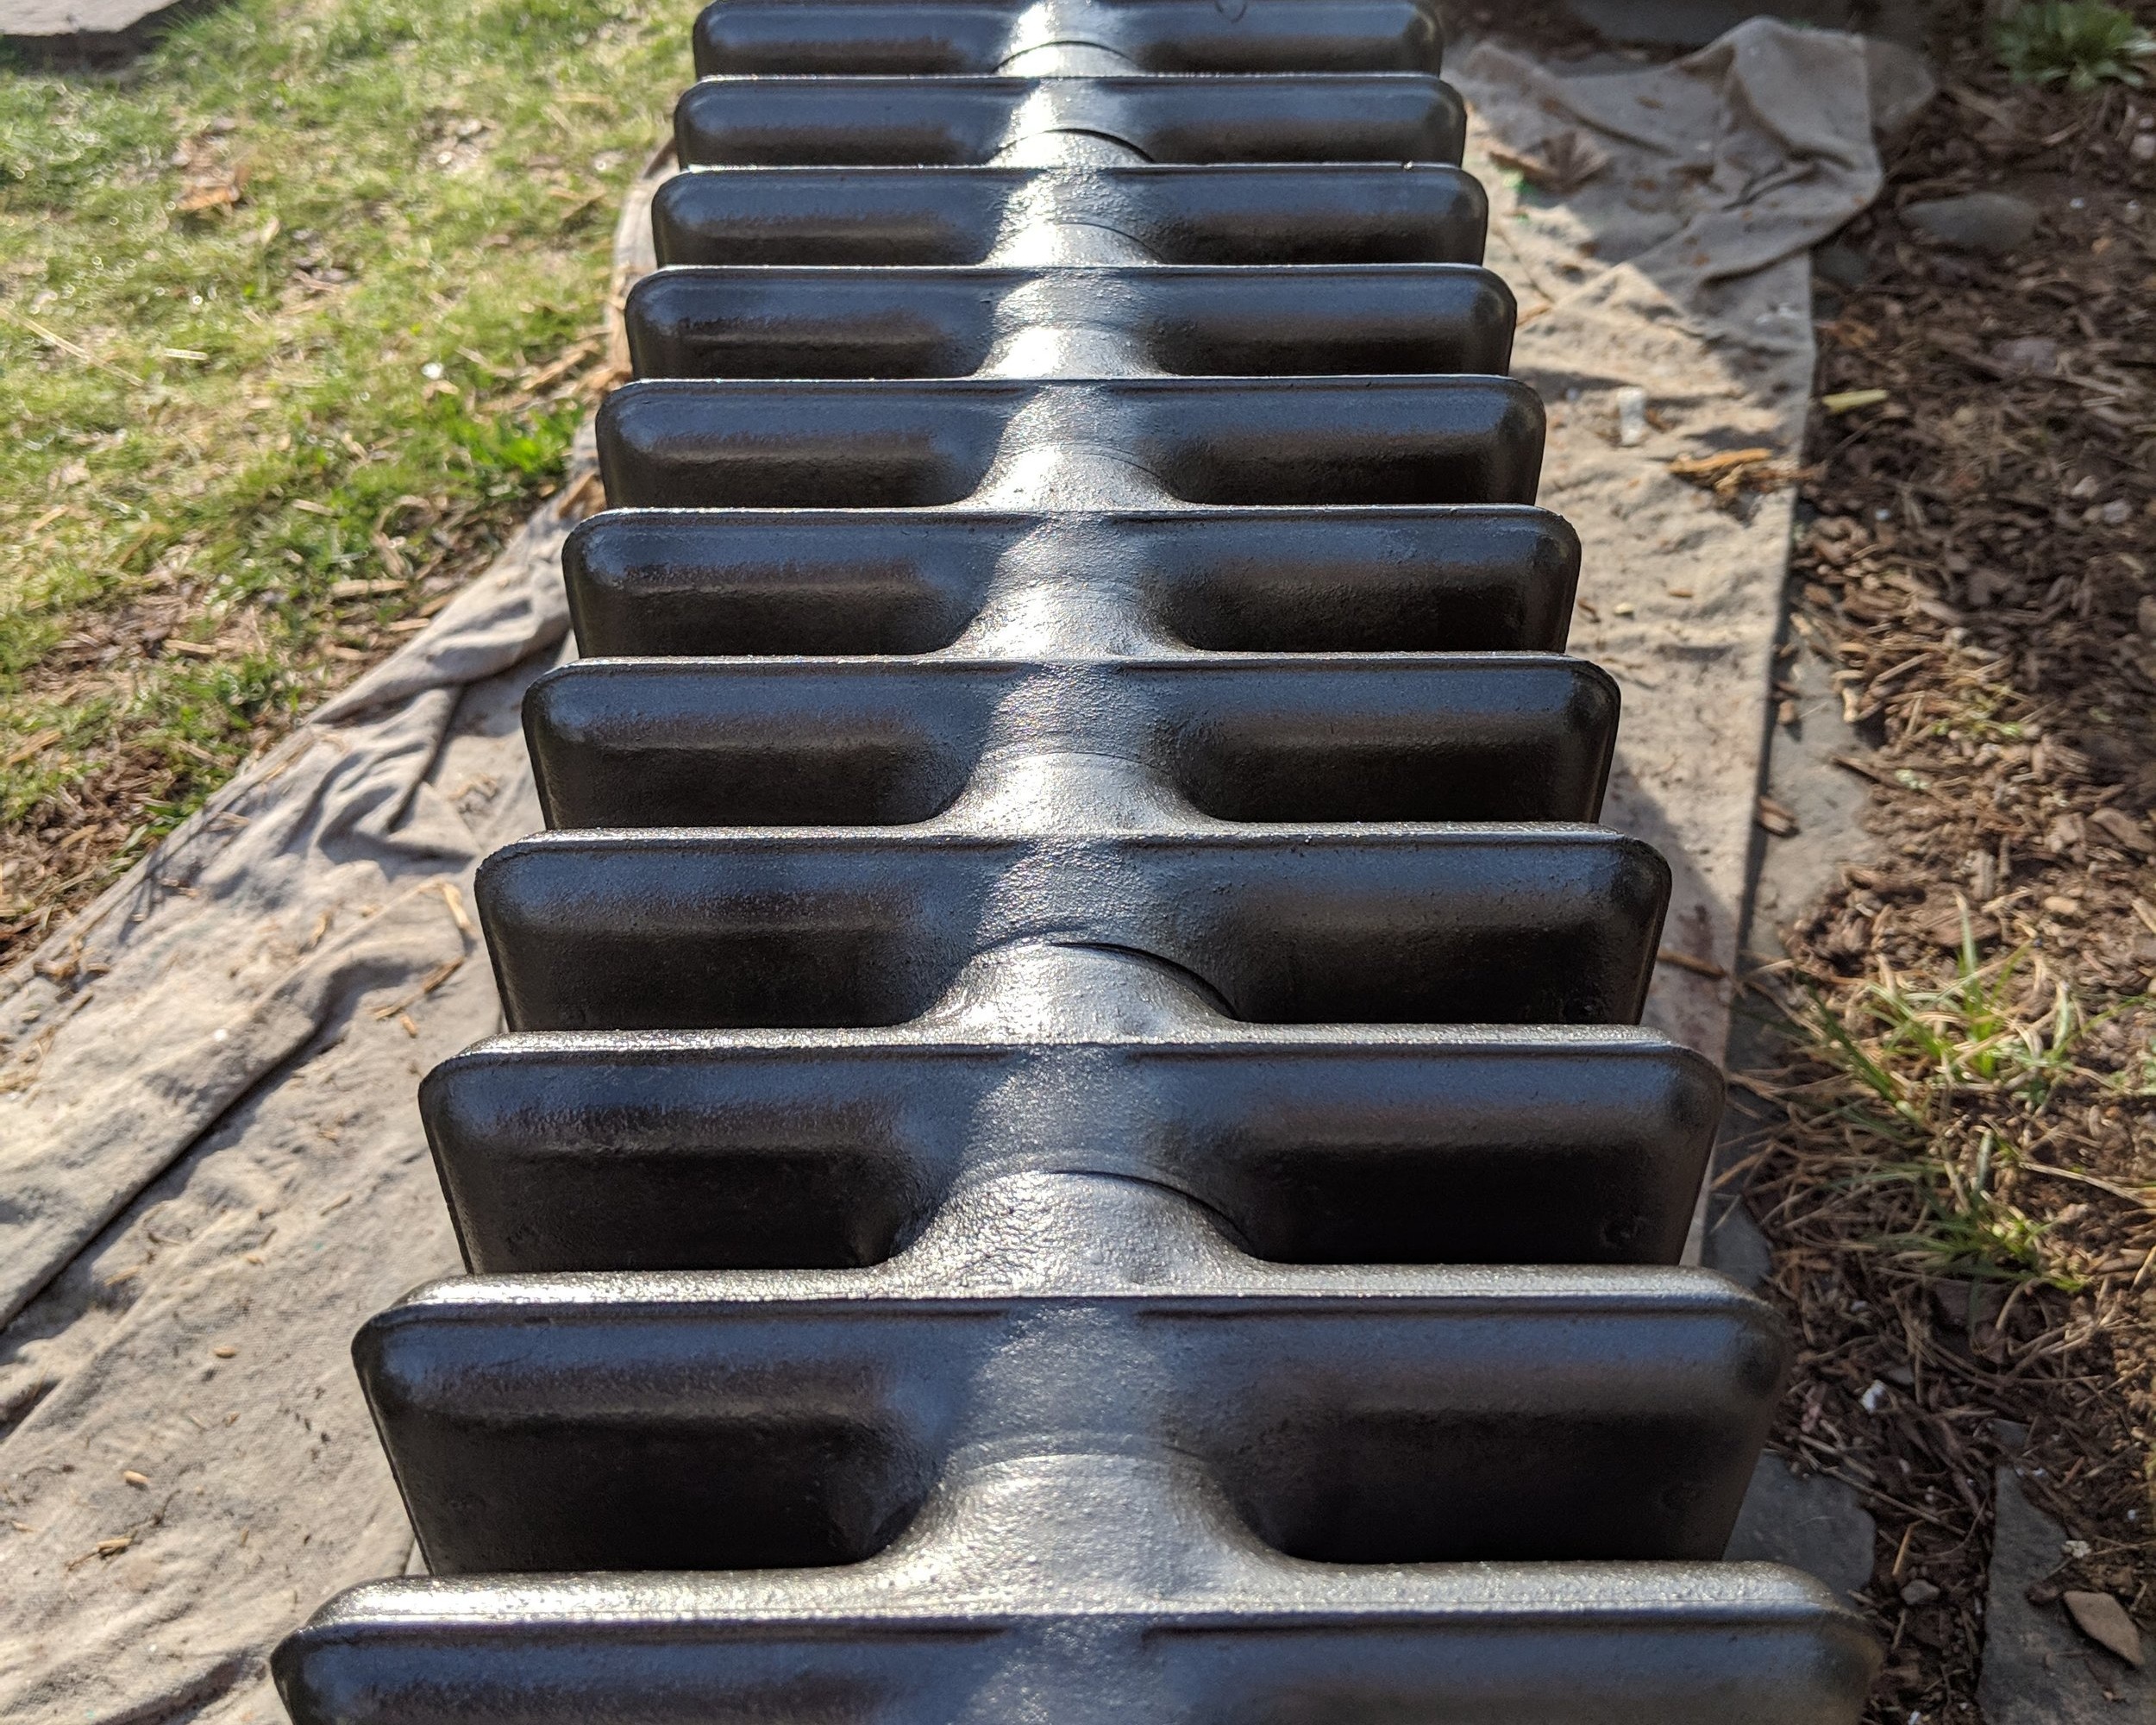
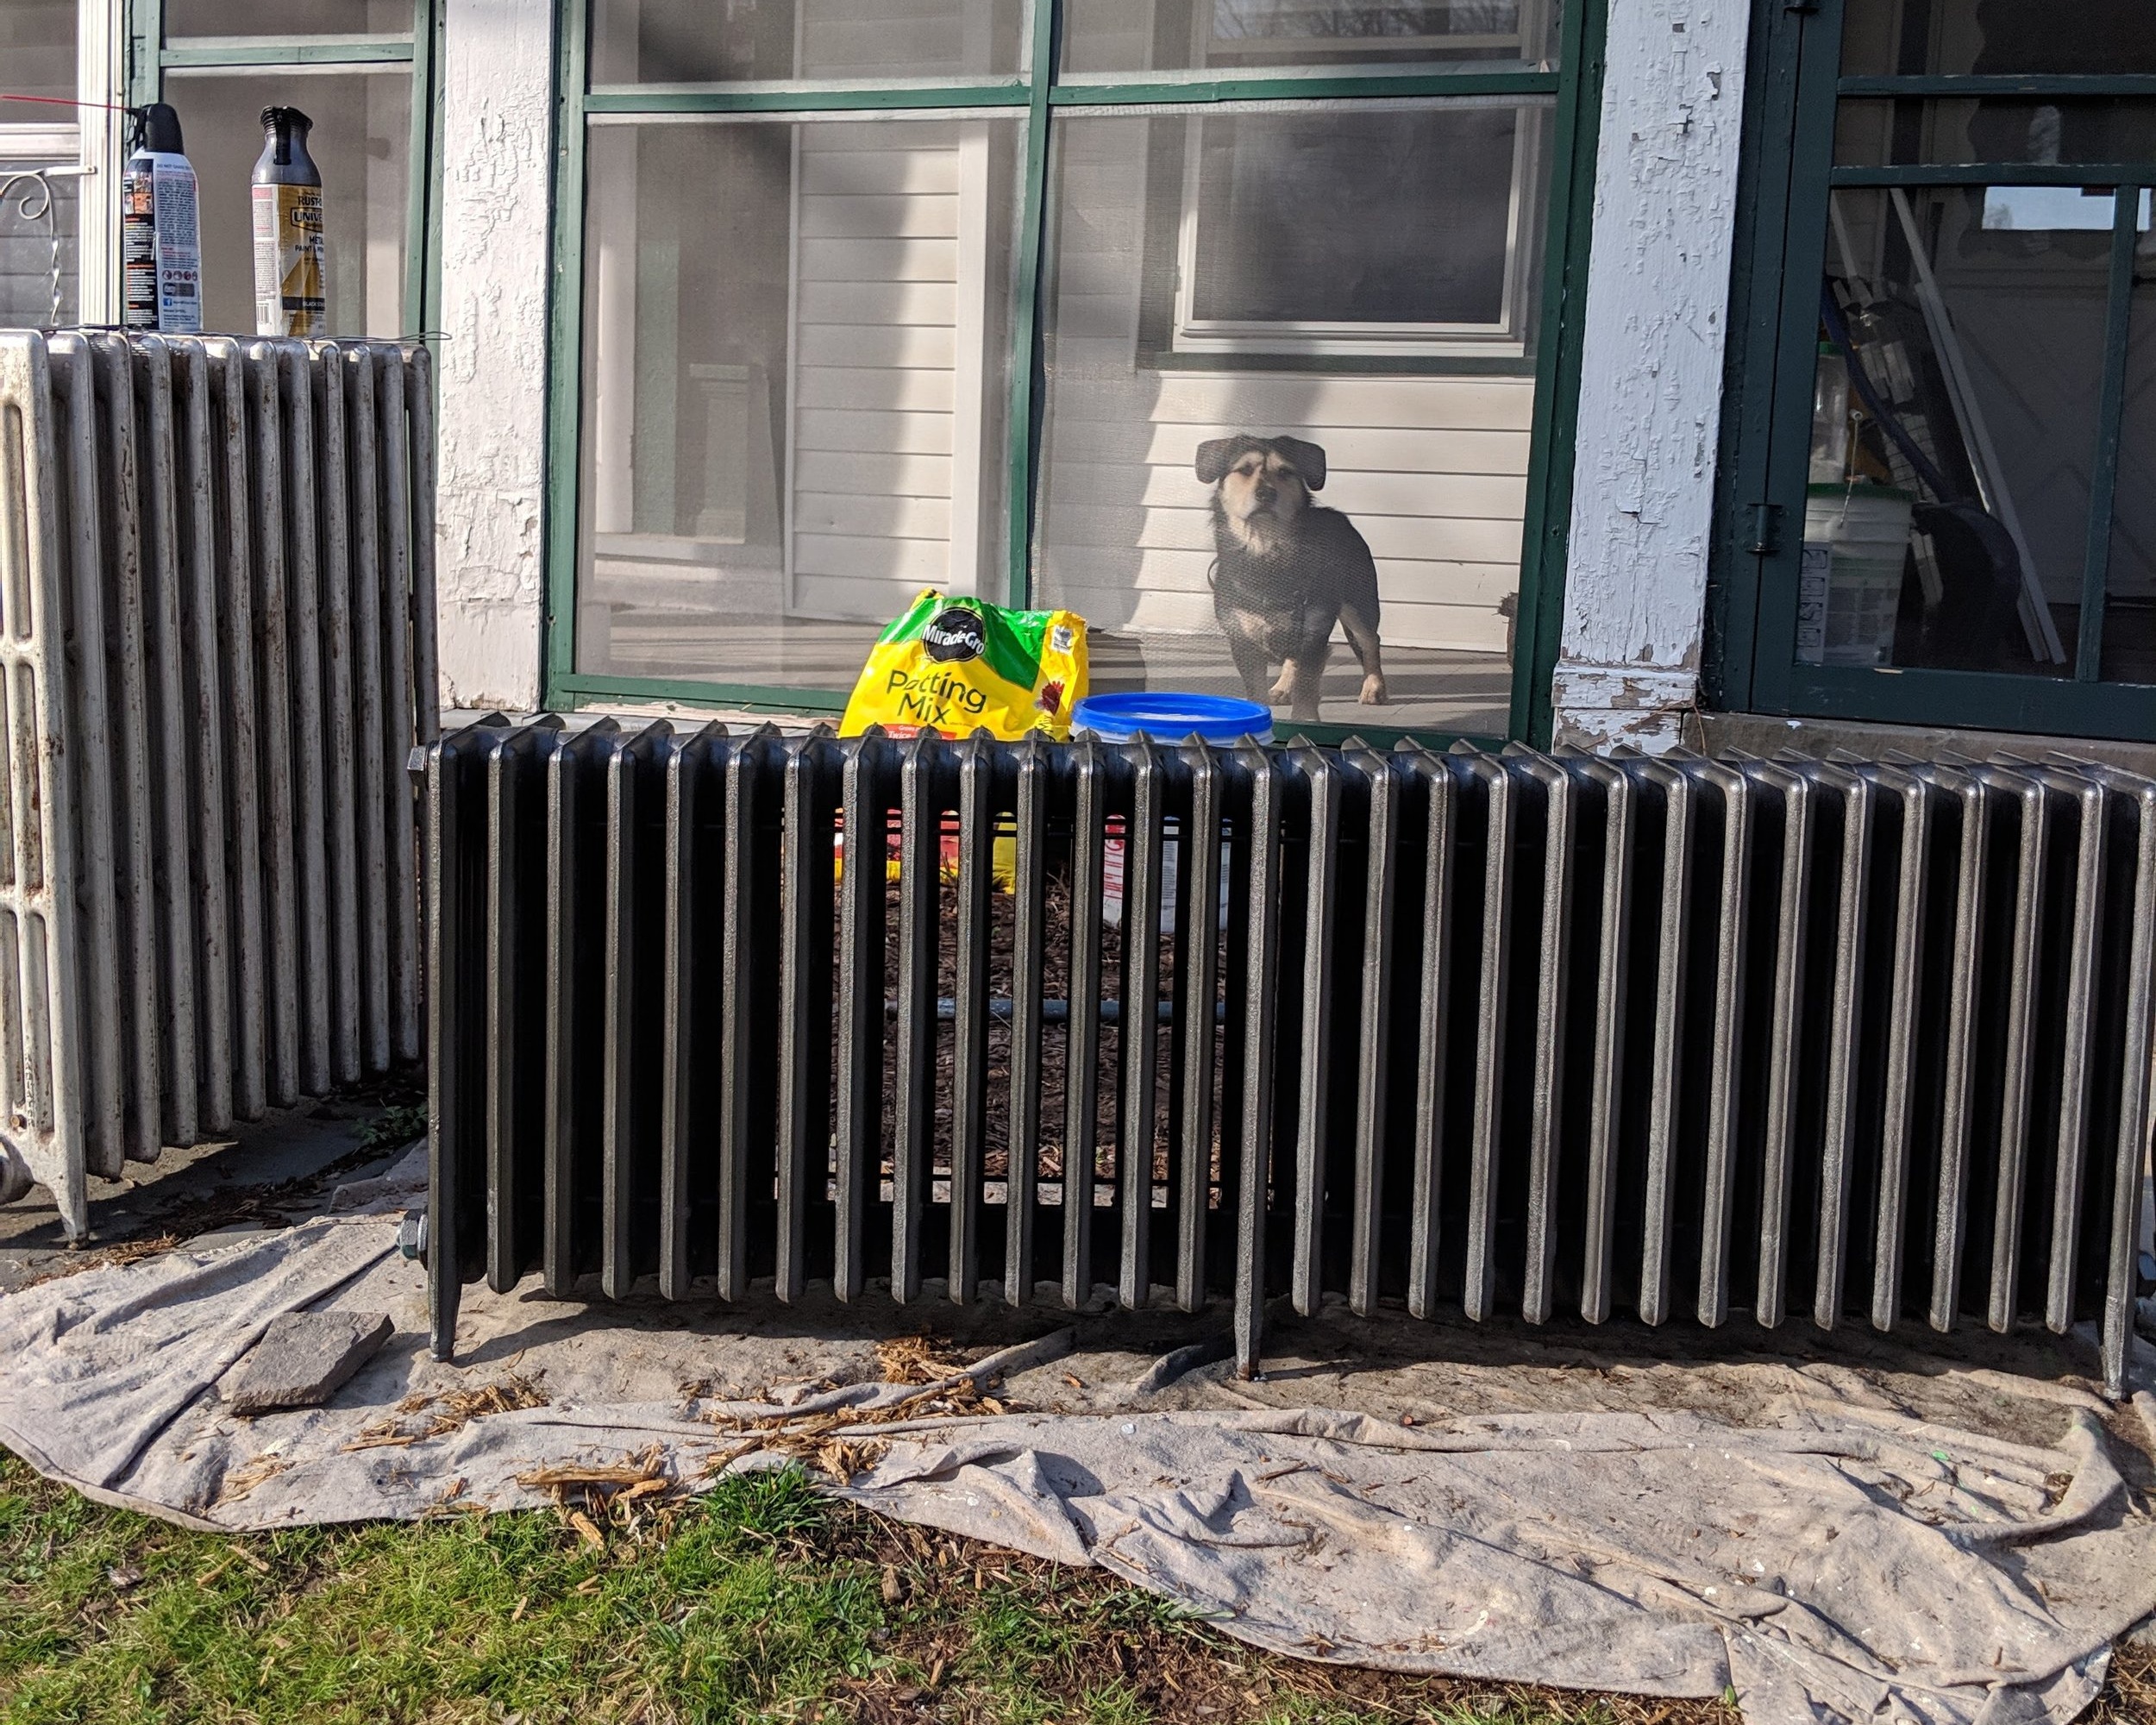
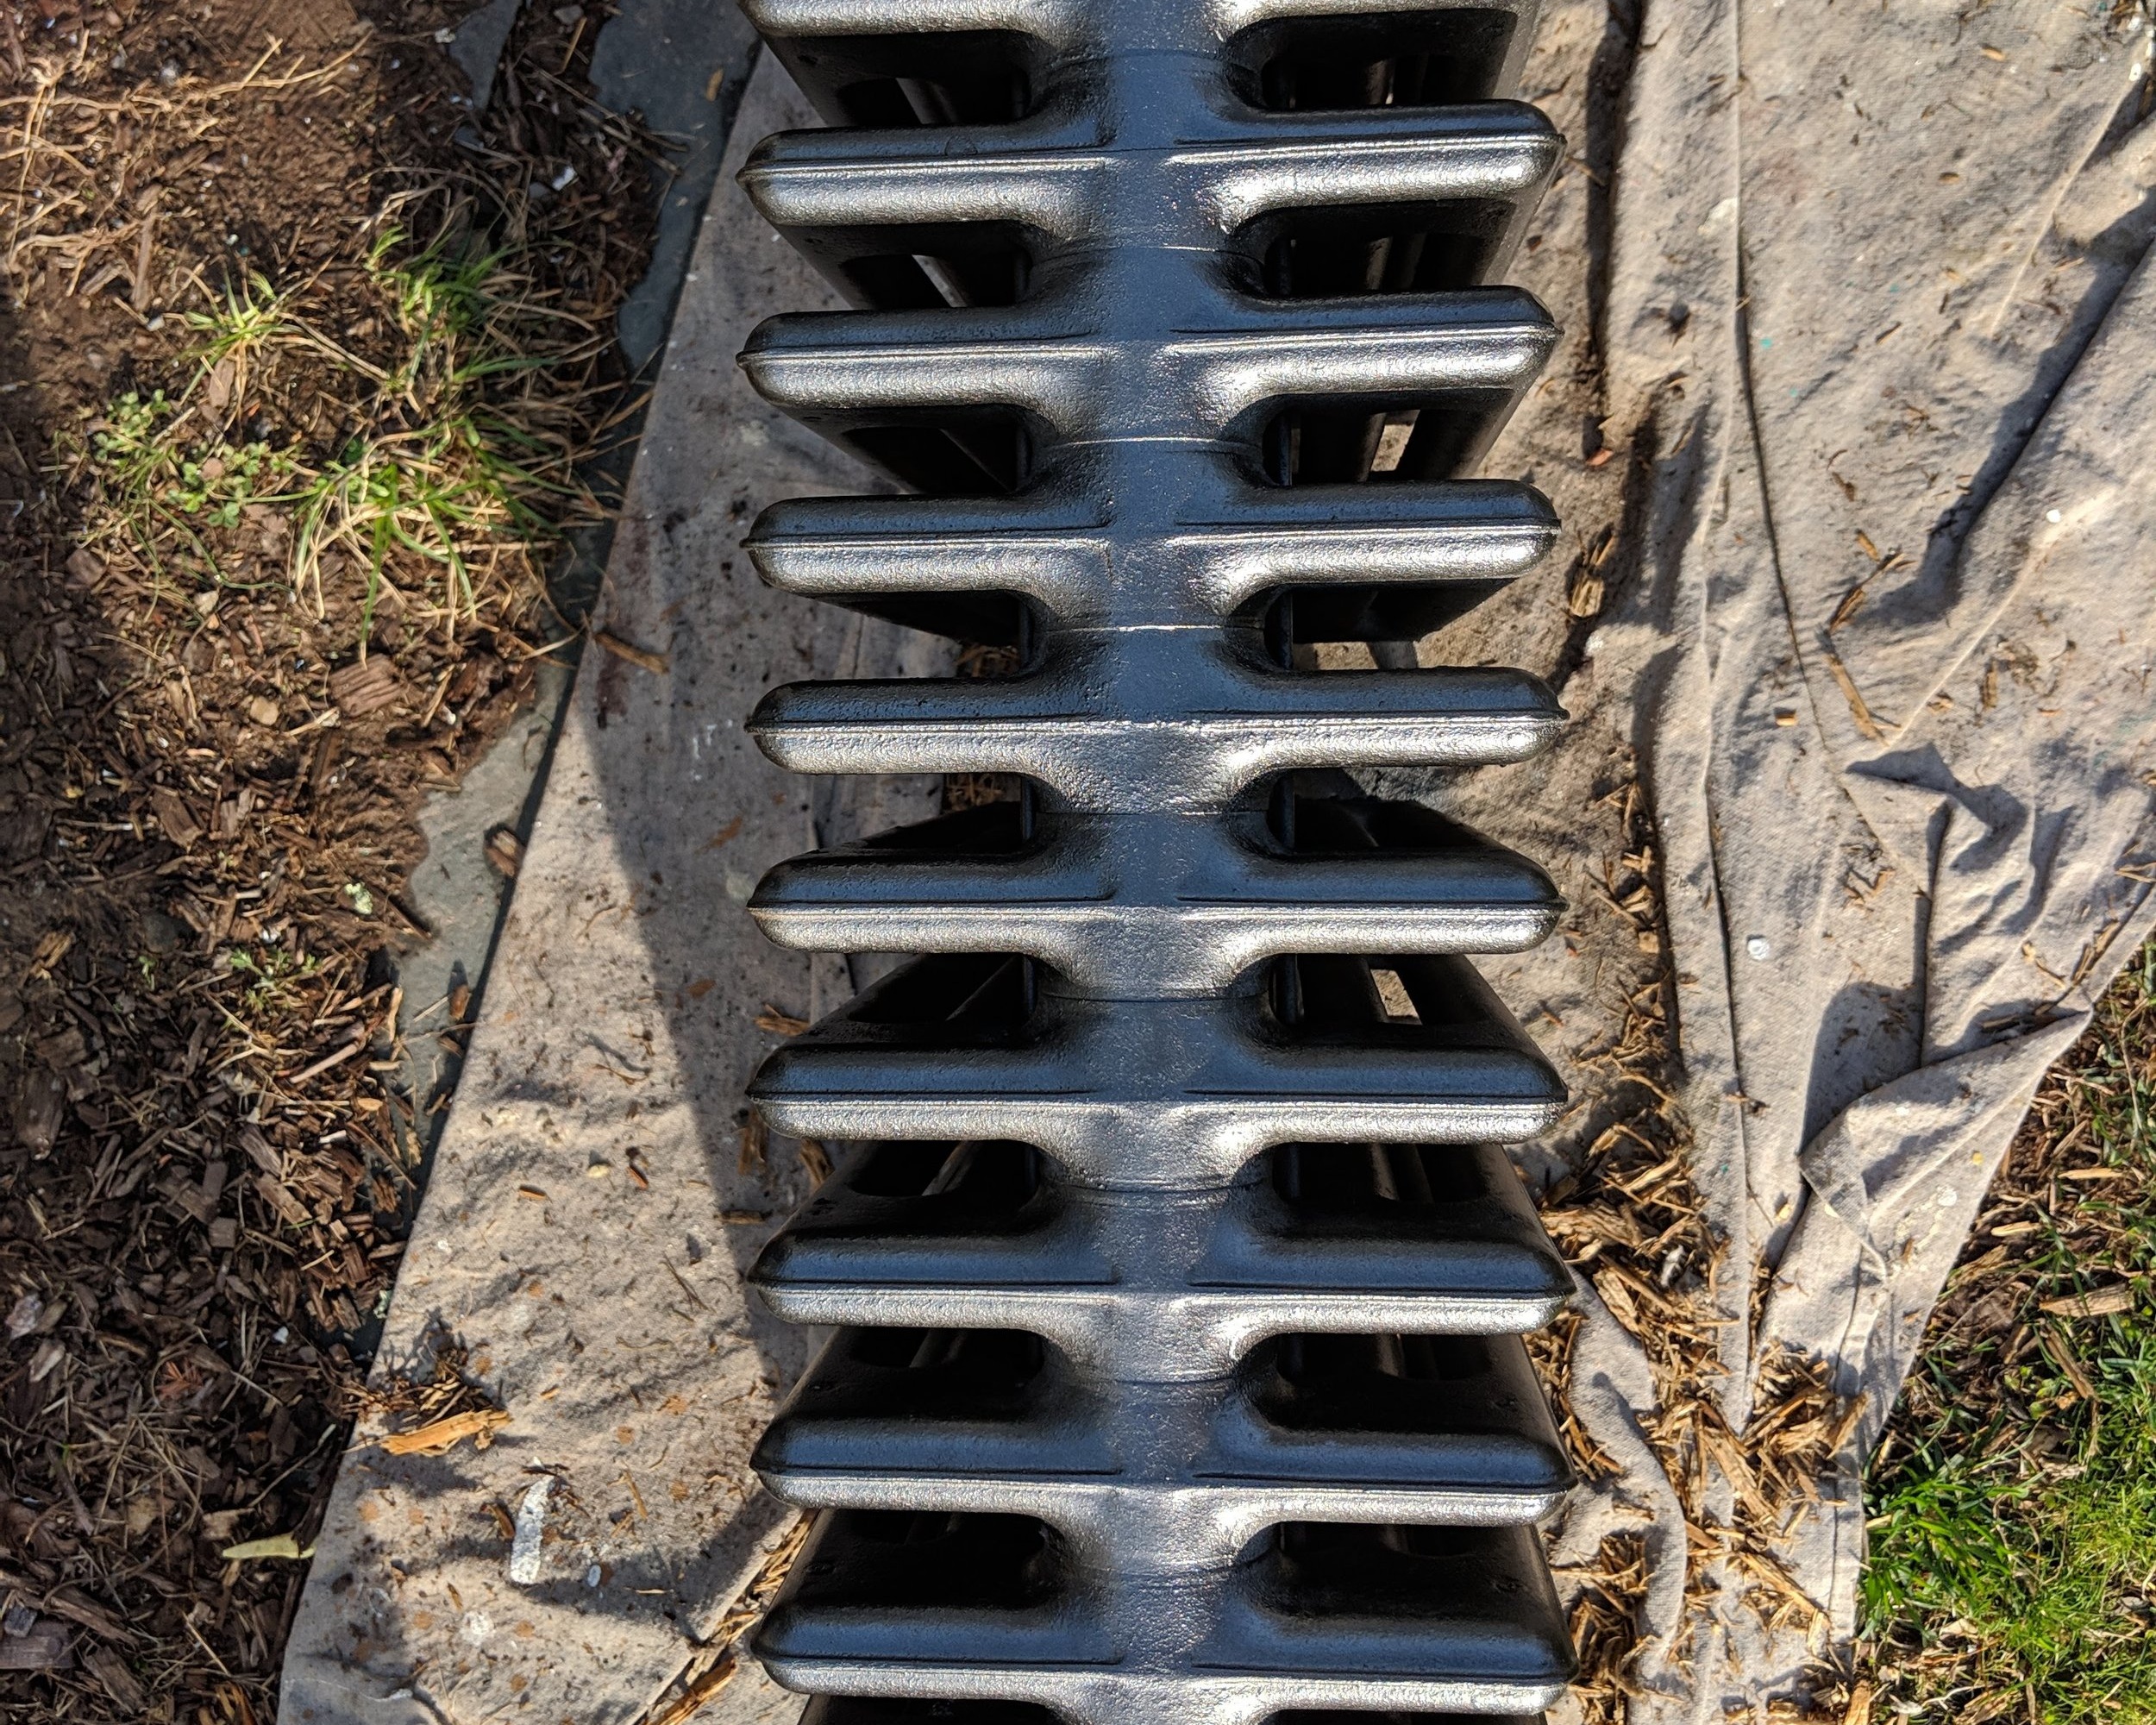
So this leaves me with only one option, and not a bad one either. Spray Paint! My trusted old friend. 2 cans ran me around $14, I had a wide variety of color options to choose from and even some with a splash of metallic material to mimic the coating on vintage radiators. I chose a “black stainless” tone as it would match my appliances and meet my black knobs and pulls somewhere in the middle of the rest of the grey tones in the room.
First we sprayed the radiator with a can of air and knocked loose any dust hanging on using a swiffer. Then we scrubbed the radiator with a brush and hot soapy water to get all the years of grime as cleared off as we could. Rinsed with the hose and then let it fully dry in the sun. After it was dry I sprayed each individual section from every angle ensuring full even coverage. The key with spray paint is to stay the right distance away so you don’t get drip marks and let it dry in between coats for the best possible adhesion.
I think the results are really great. If I didn’t know it was spray paint I would have thought it was powder coated. Hopefully the longevity of the paint meets our needs in the long run. We don’t plan to move this piece ever again unless there is a need to repair something. Stay tuned for the final reveal of the kitchen to see the radiator in place. Till then here’s a couple of after shots of my handy work!
