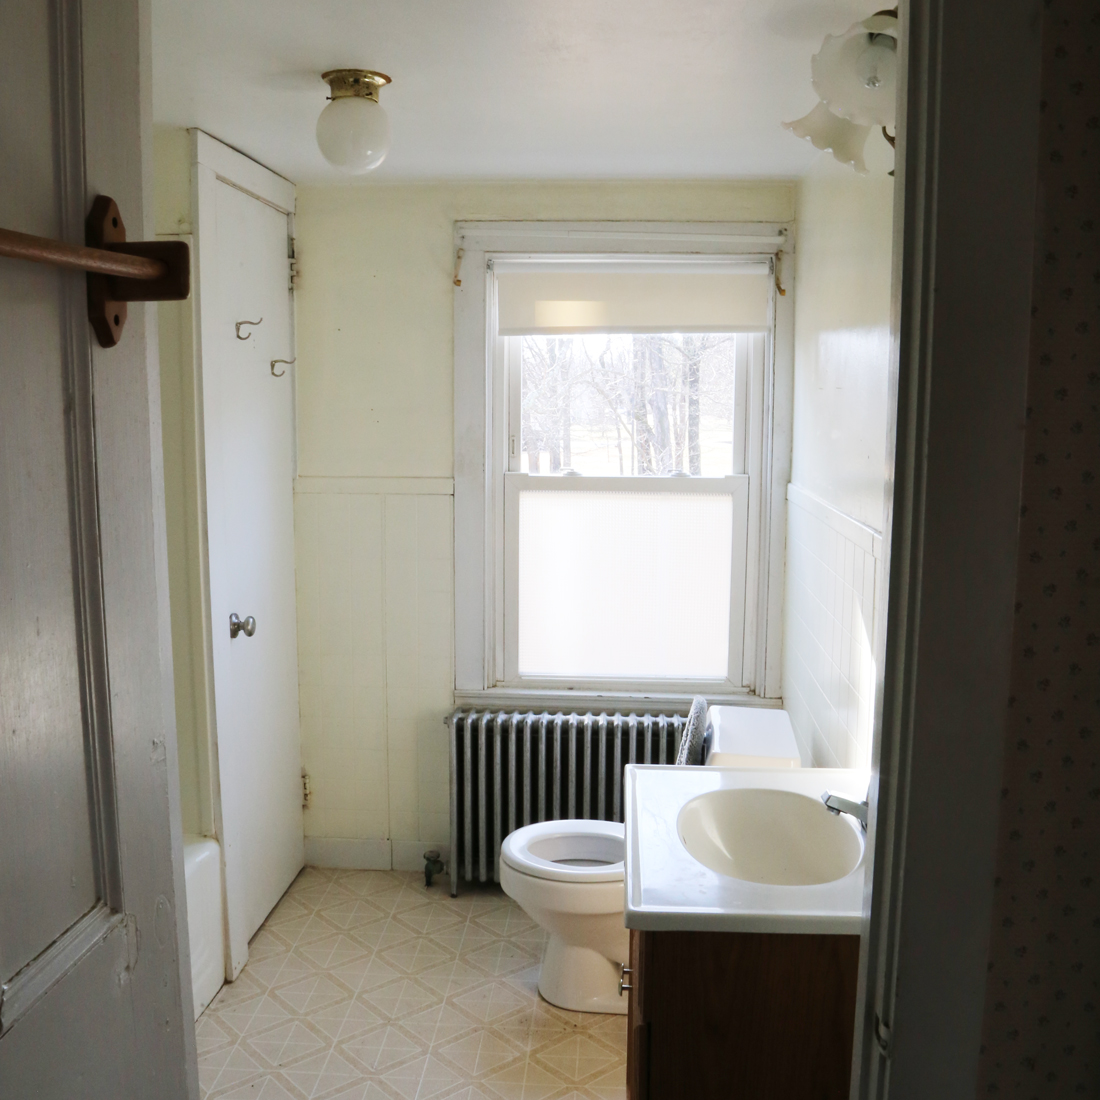
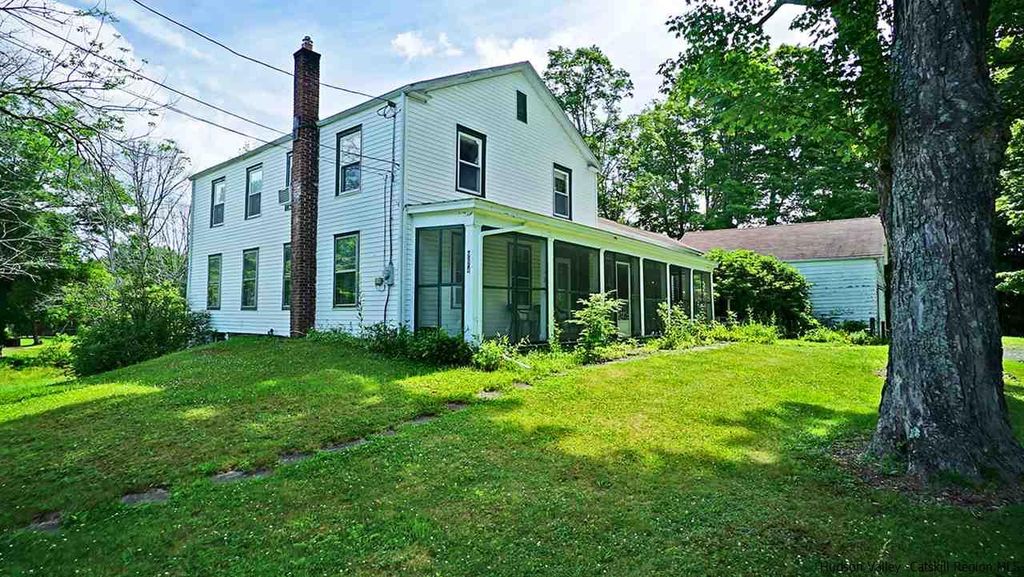
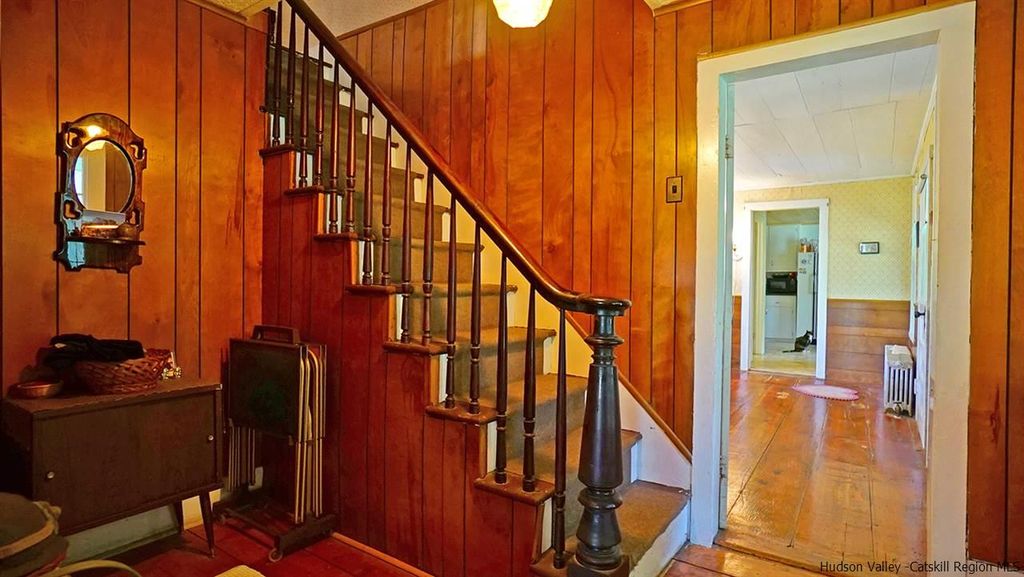
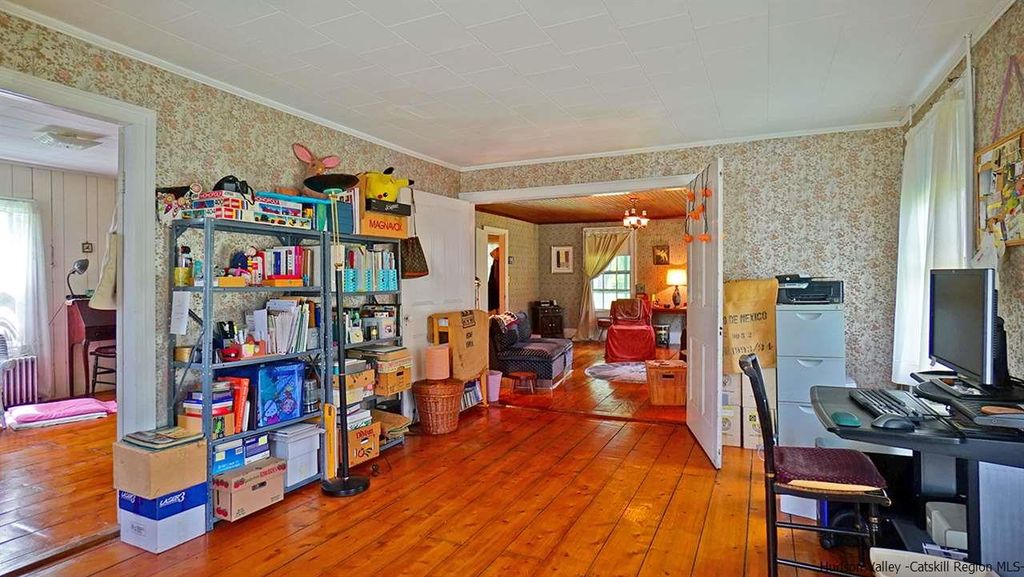
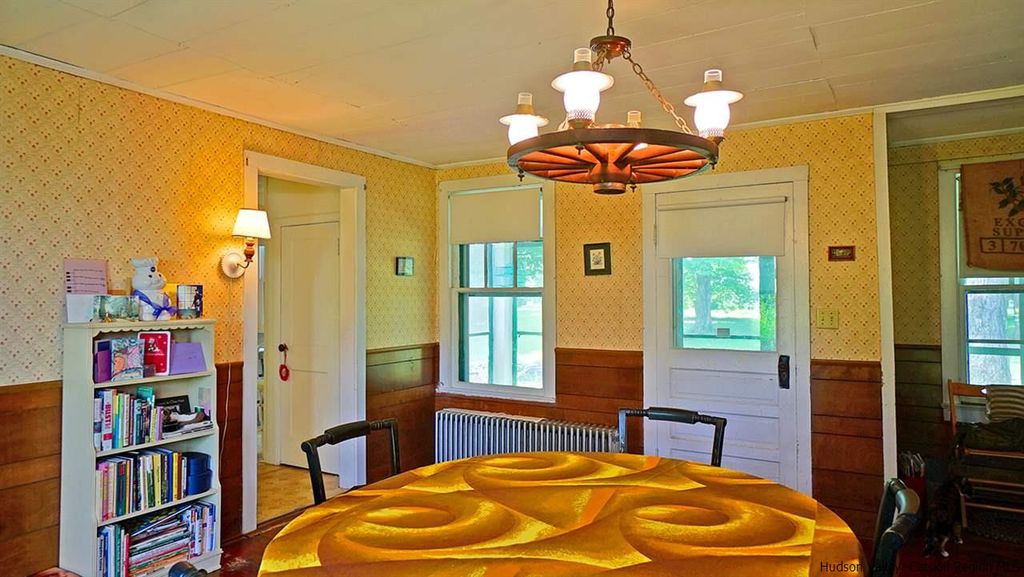
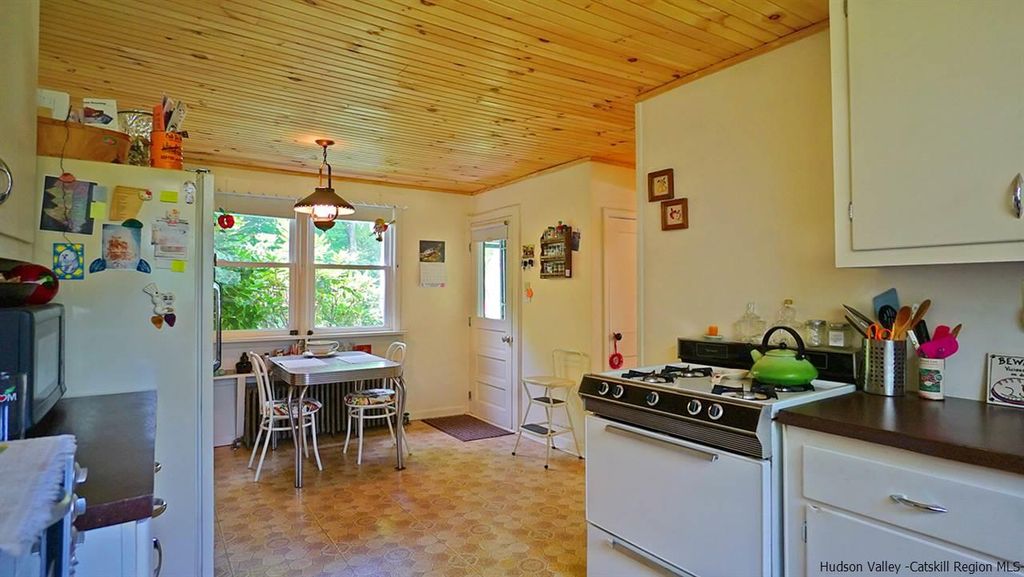
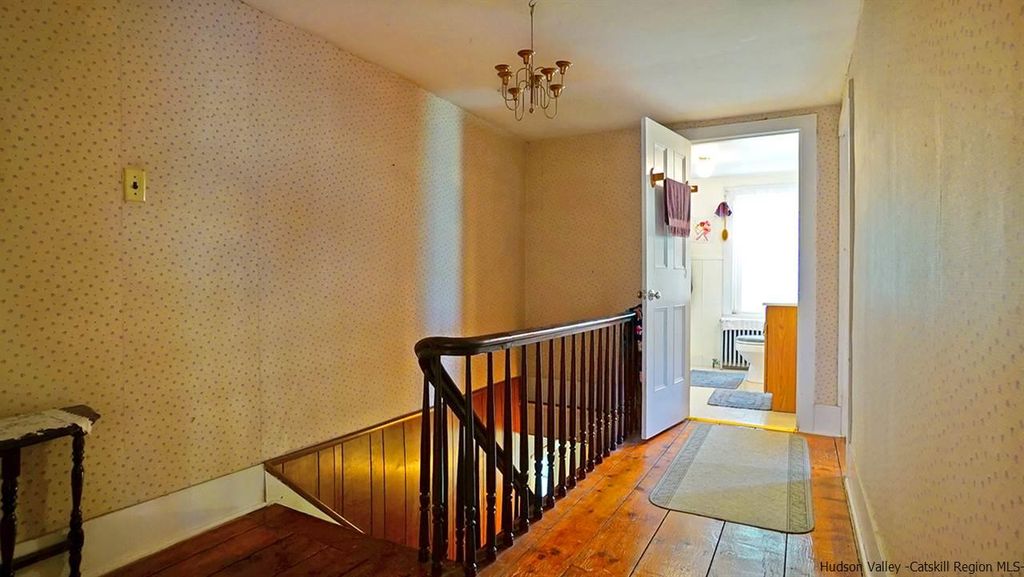
The entryway is the first impression your guests get when they come for a visit, so it was at the top of my list for a makeover. The farmhouse is full of wood paneling, but the worst offender, floor to ceiling, dark and dreary was the entryway.
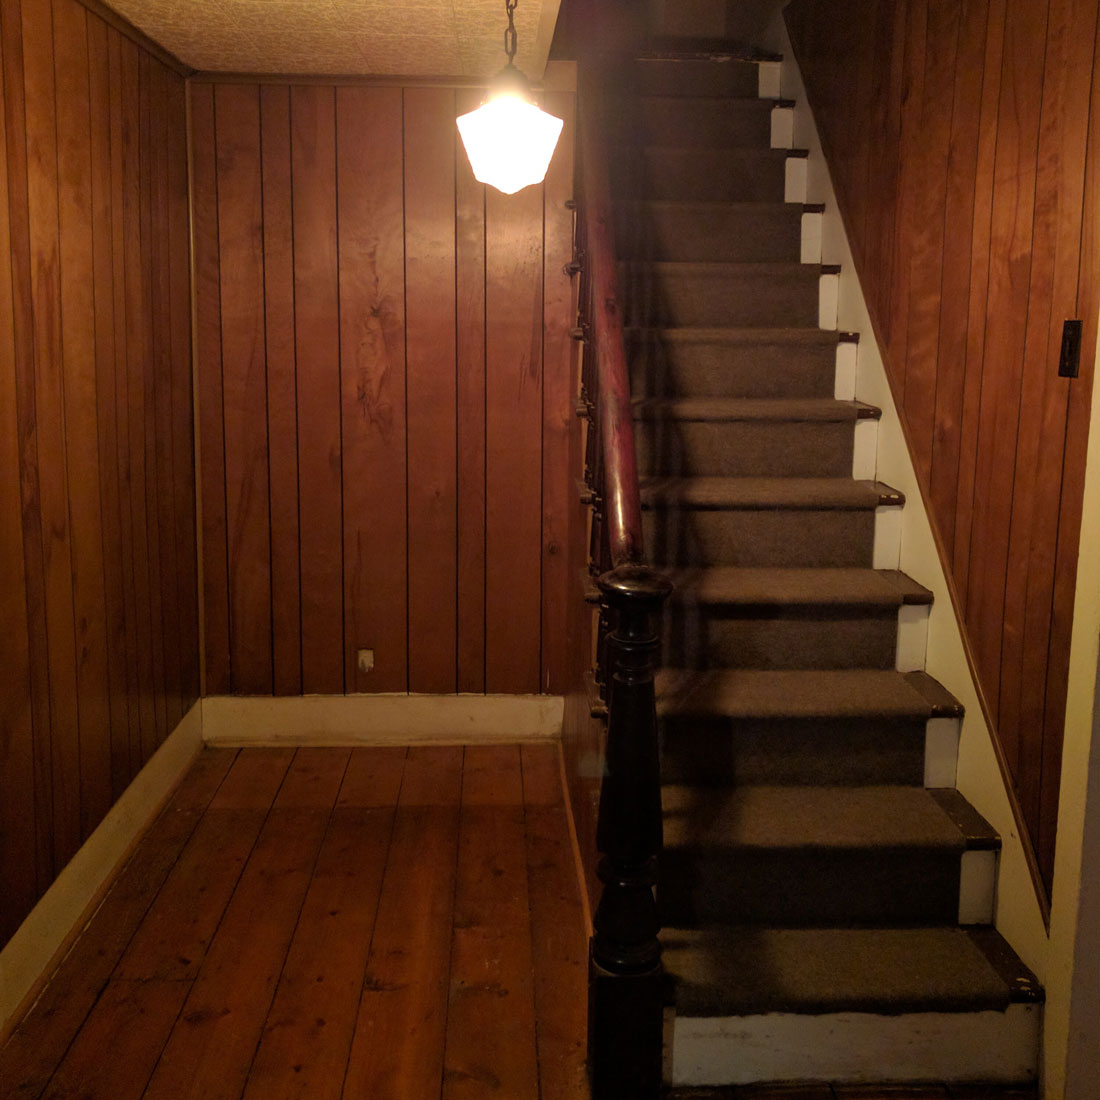
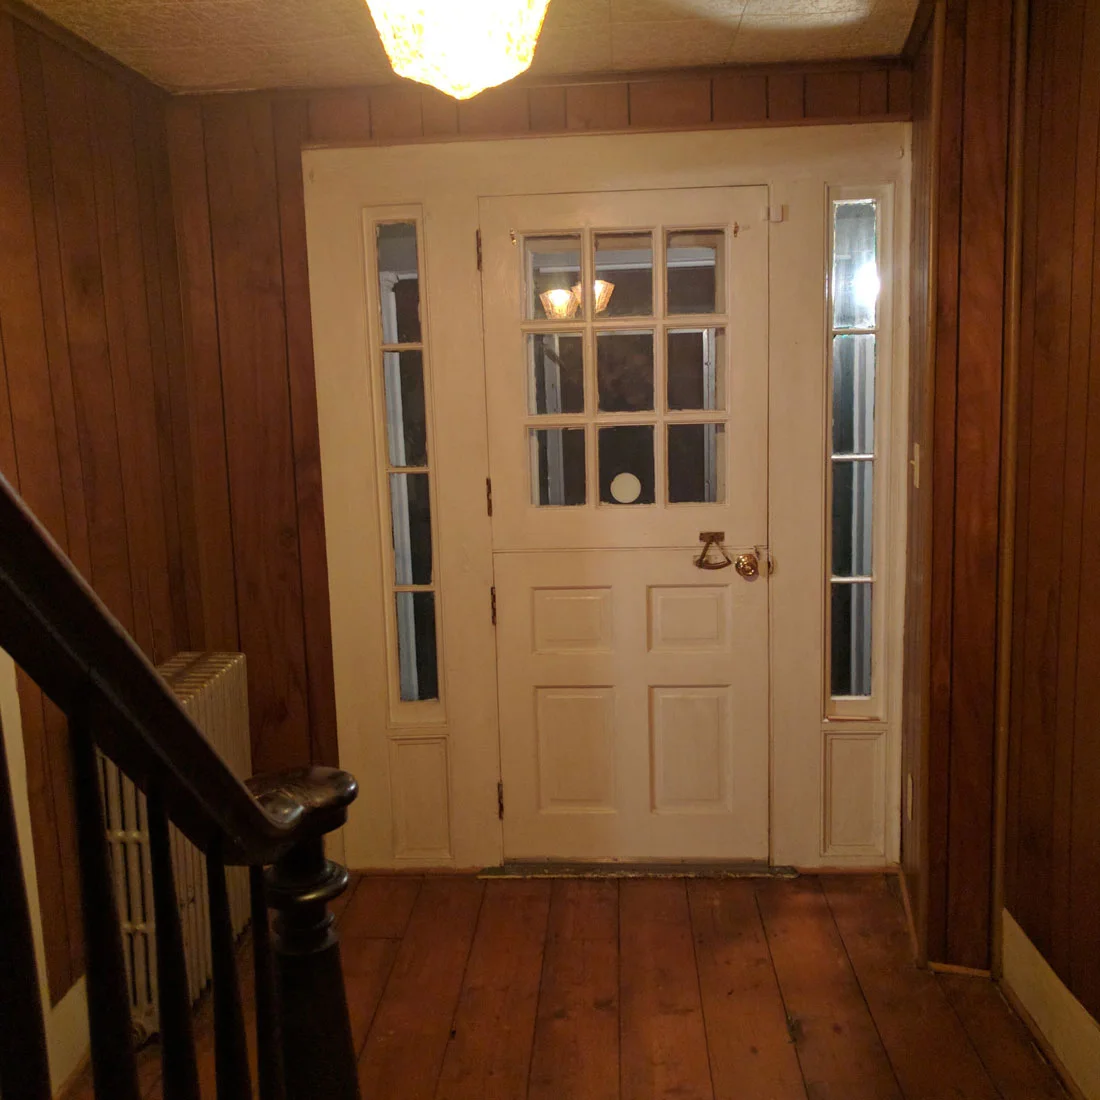
Granted these photos were taken at night, but it didn't feel super inviting to me. Before we even closed on the property I knew this entryway needed a fresh coat of a light colored paint to brighten the space and utilize the natural light that floods in through the windows around our antique dutch door.
Now, if you have ever painted wood paneling, you know it is quite a process. You absolutely must prime. Your paint says paint with primer, but you need something serious to cover up this slick dark surface. I used Zinsser, but I understand Kilz makes excellent primers as well. The tricky part about the paneling is the spaces between. There are so many grooves in the wall and you have to make sure you get enough of the primer into them, but you also want to make sure the flat part of the wall that abuts keeps a smooth coverage. I developed a system where I would do about 2 ft sections of the wall floor to ceiling before moving on. I used a paint brush to get the primer in the crevices and then came back with a small roller to smooth the build up from the paint brush and more quickly cover the flat surfaces. The results were great, but it was way more time consuming that simply cutting in and rolling like you would do on dry wall or plaster etc.
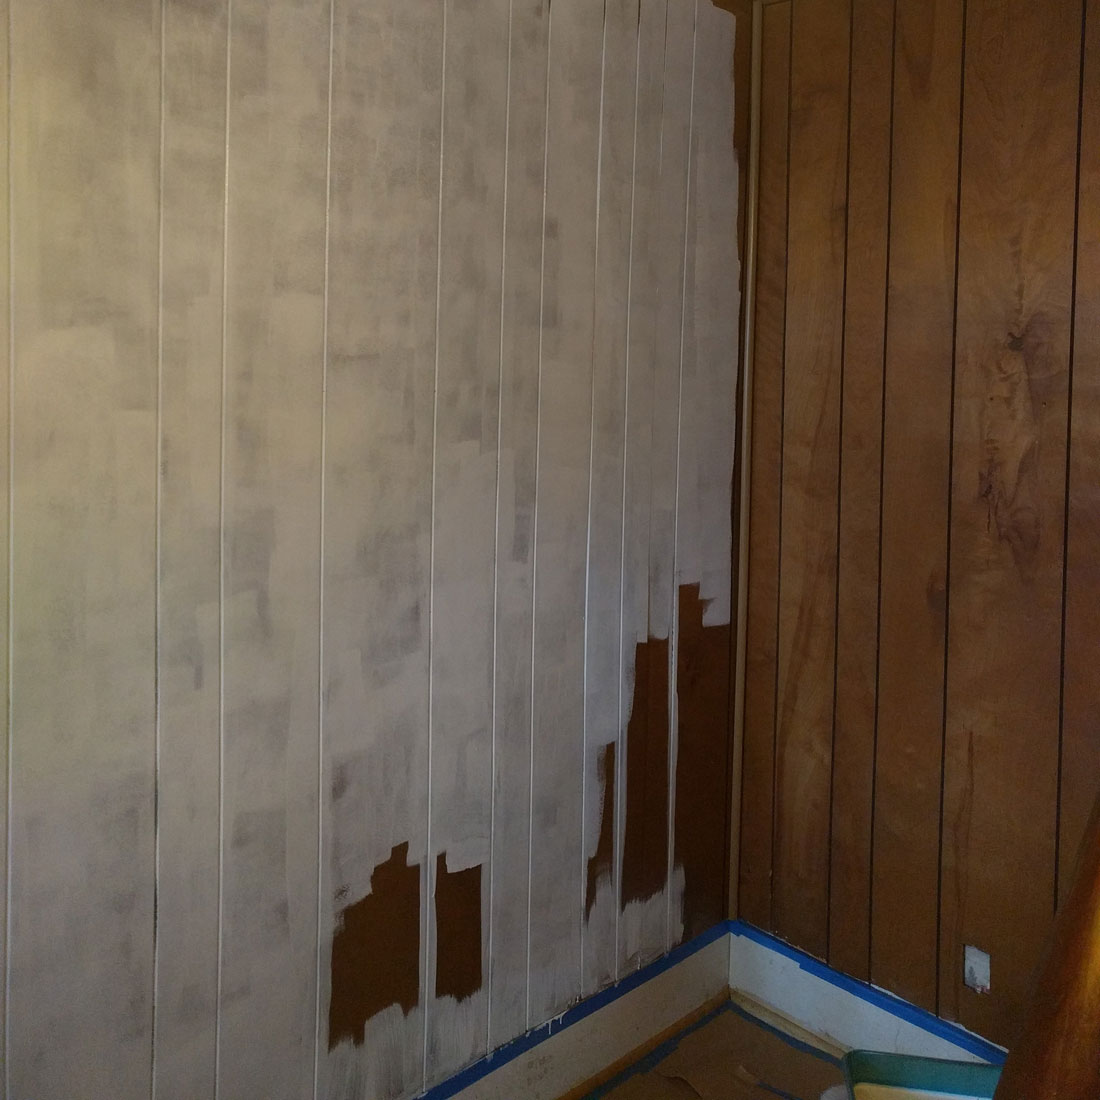
I waited a full day to let my primer dry. Mainly because my back needed a rest after all the squatting and reaching (excellent work out) but also that stuff is kind of thick so I thought better safe than sorry.
I don't know if I'm the only one, but this stage of painting makes me feel so nervous. I have painted quite a few spaces in my time, but when it looks all splotchy and uneven like this is makes me queasy, so next day I was ready to put my first coat on, lower back pain be damned.
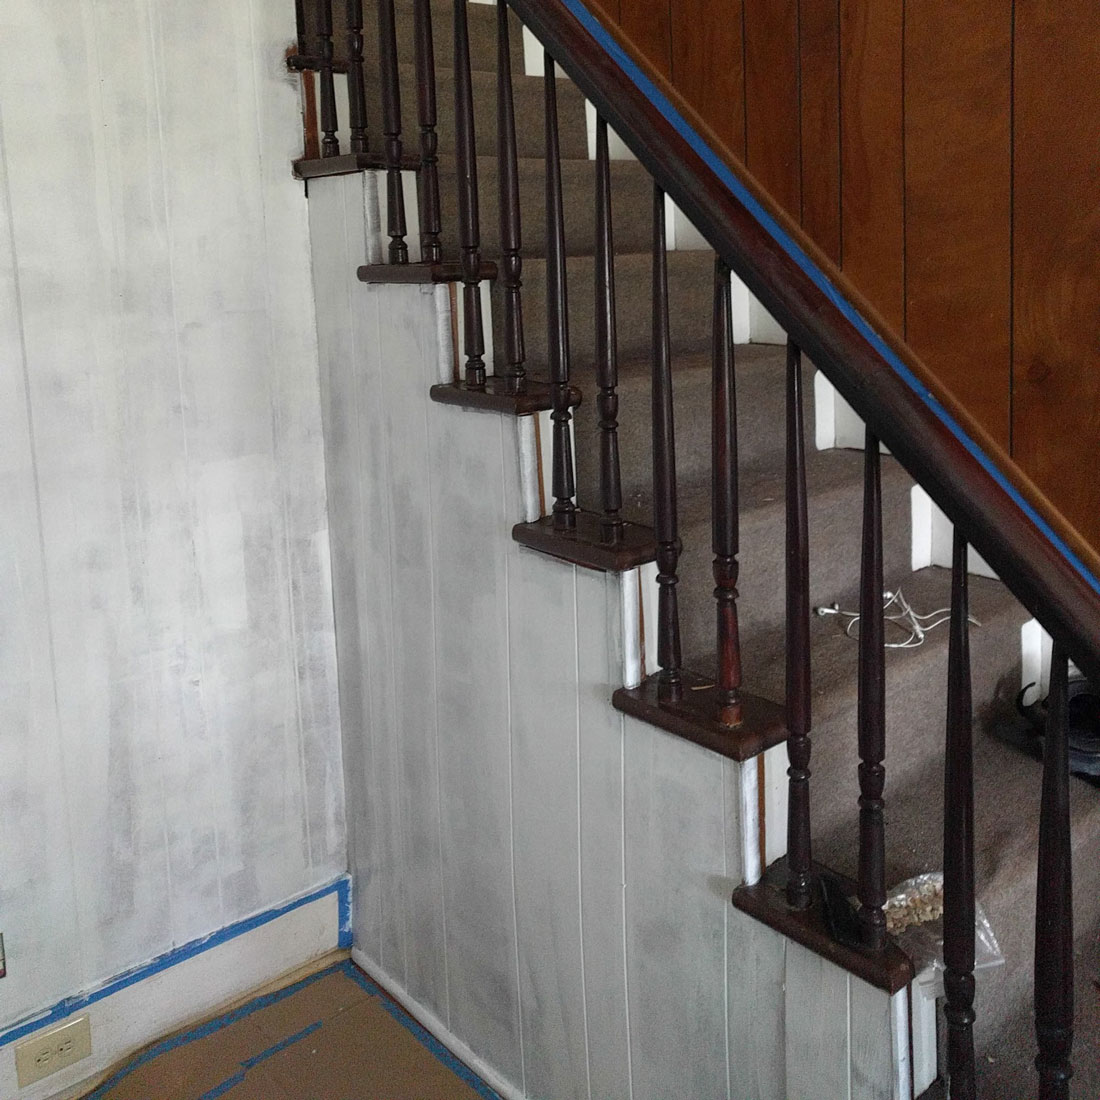
So this is where I added an extra step to my painting that I have come to decide was well worth it. I had to repeat the process of cutting in and filling gaps with my chosen wall paint. I continued doing sections at a time like with the primer to keep a smooth coat, but this time after I rolled my paint on the flat surfaces I went back with a large paint brush lightly coated with paint and gently brushed down from floor to ceiling creating a very subtle but really beautiful texture to my surfaces. It probably added about an hour and a half of work to my space, but it has more of an authentic antique farmhouse feel to it.
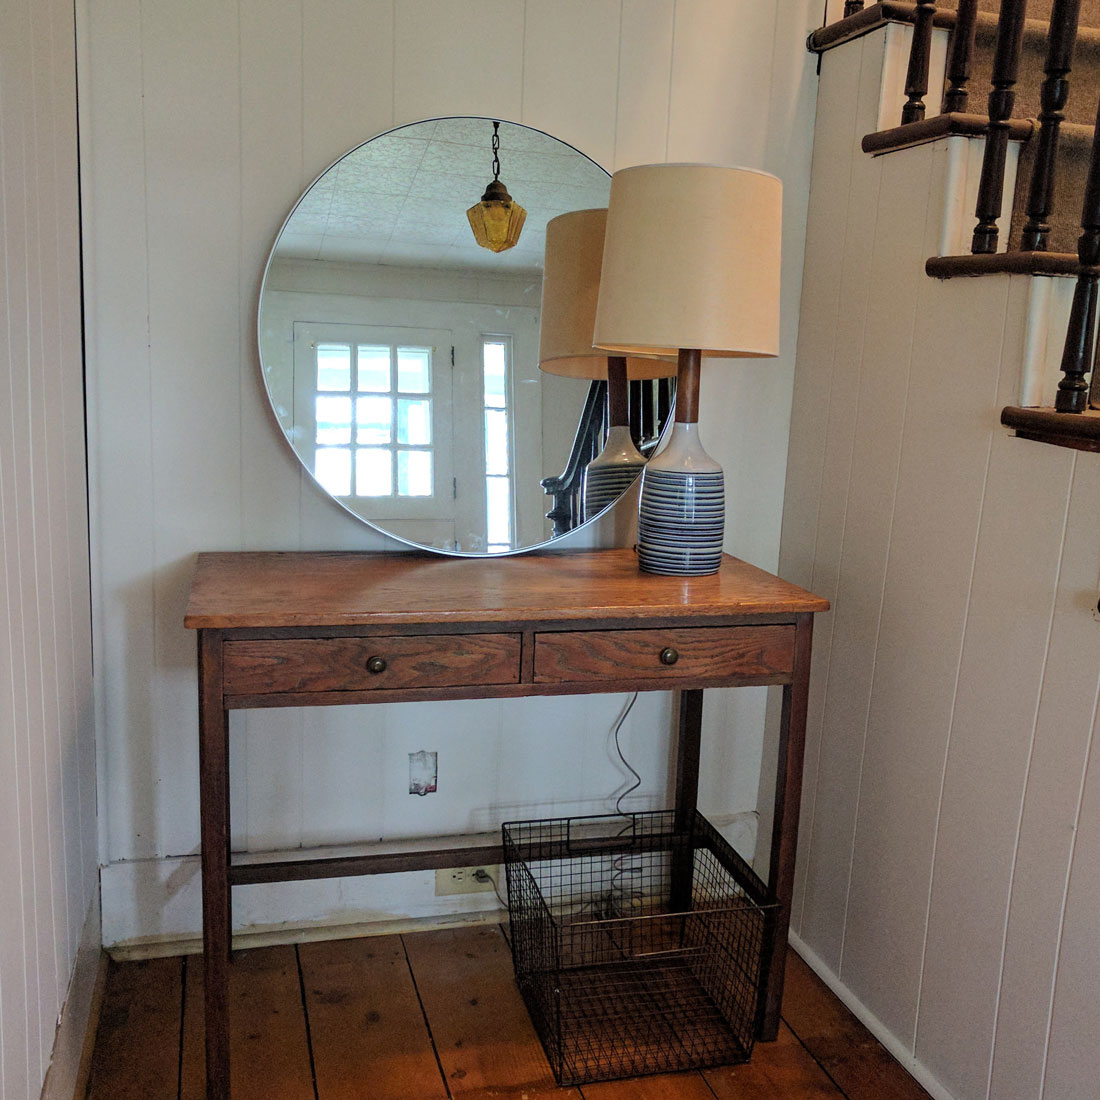
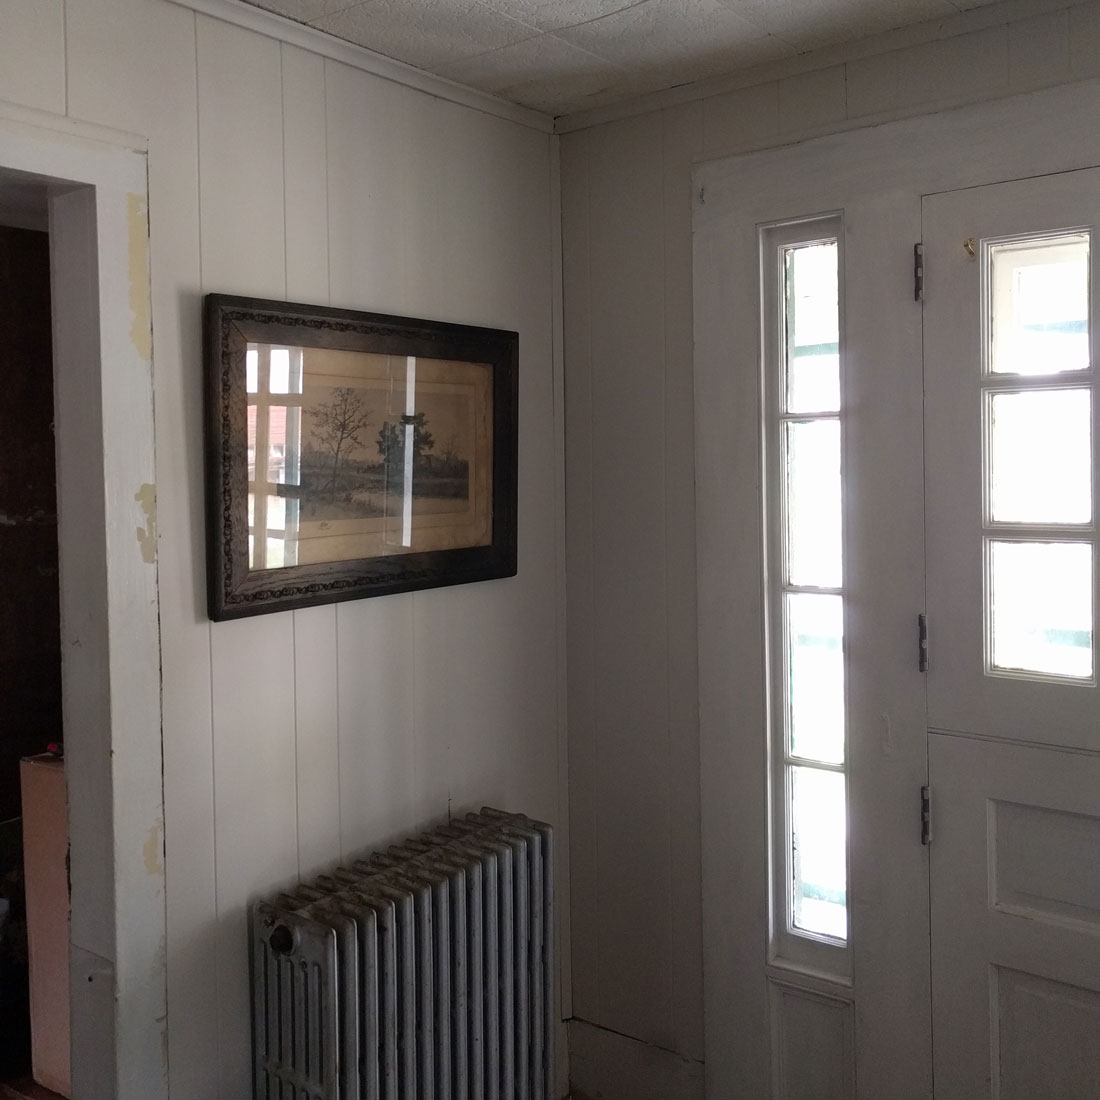
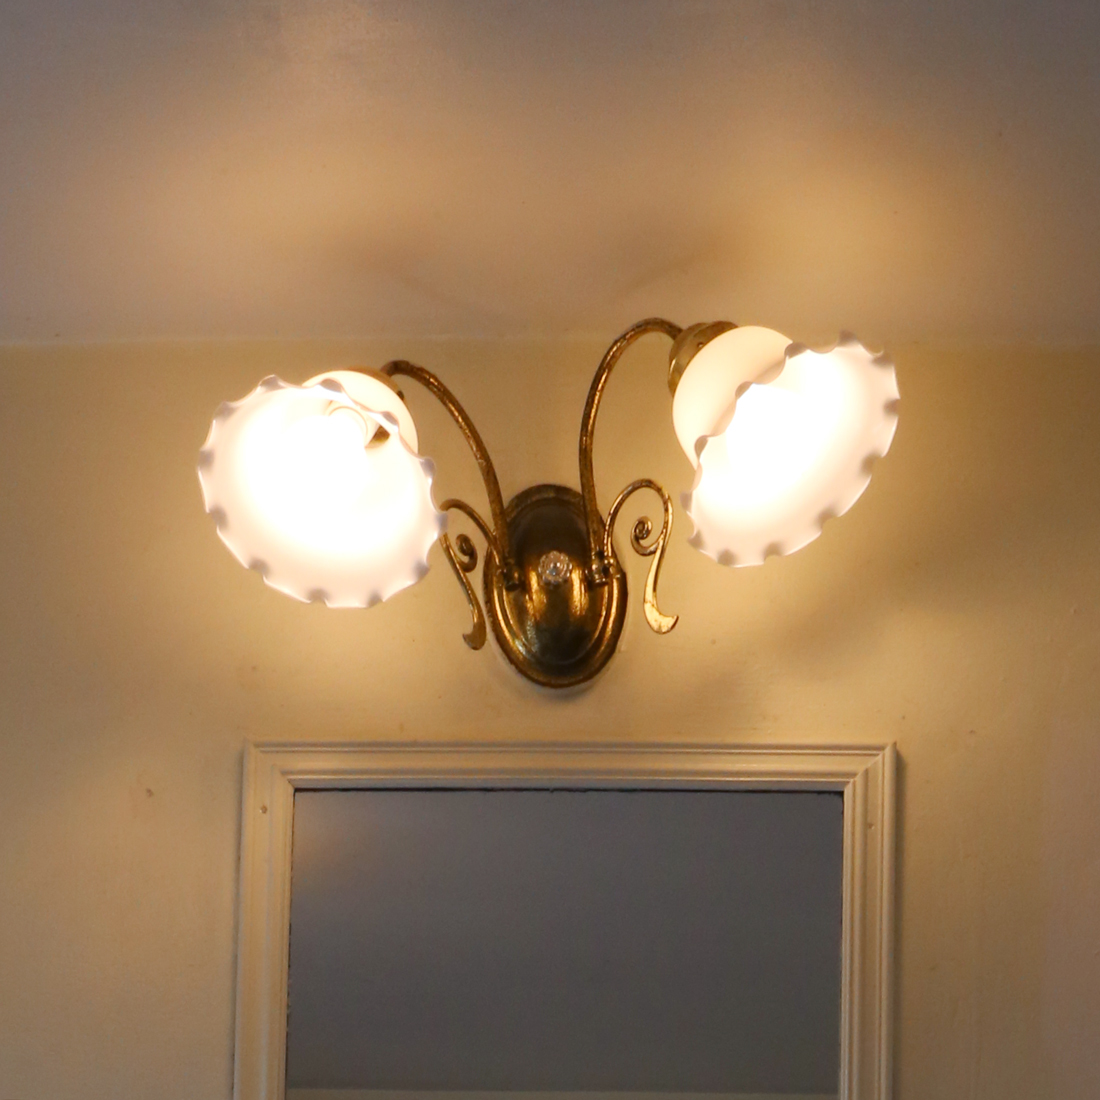
This space is by no means finished. It needs a new ceiling, the trim and door are getting stripped and painted a navy blue color that has a touch of graphite grey to it. Really lovely color. I also want to remove the pendant light that hangs to the left of the stairs (you can catch it's reflection in the first after shot). It's a nice vintage piece, but it casts an orange glow through the space and I think a flush mount centered in the space between the door and where the stairs begin would be more appropriate for this room. But I would say the space is literally like night and day already and I am truly pleased with the direction it's heading!